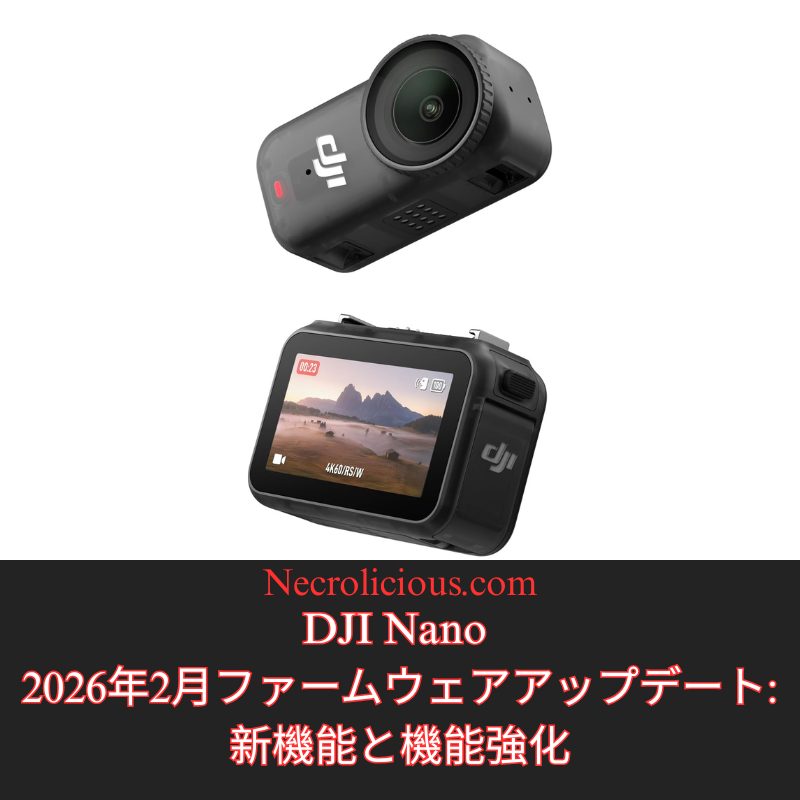
In the rapidly evolving world of portable photography & videography, DJI continues to refine its offerings through regular firmware updates. The most recent update for the DJI Nano, just released in February 2026, brings the firmware version to v01.01.27.51. Available via the DJI Mimo app for both iOS (v2.6.12) & Android (v2.6.12), this update introduces practical improvements designed to enhance creative flexibility & device reliability. For users encountering installation issues, DJI advises restarting the camera & app, ensuring Wi-Fi & Bluetooth are enabled, & reconnecting before attempting the update again. Persistent problems should prompt contact with DJI Support. This follows a prior update in November 2025 (v01.01.16.50), which added features such as Natural Wide FOV, HorizonCorrection, & improved microphone integration with the vision dock. Below, we explore the new additions in detail, highlighting how they benefit content creators & enthusiasts.
Native 9:16 Aspect Ratio Support in Video Mode
The addition of support for a 9:16 aspect ratio in video mode represents a user-focused enhancement tailored to the growing demand for vertical content in social media & short-form video platforms. This feature allows the DJI Nano to natively capture footage in a portrait orientation, which aligns perfectly with formats used on apps like TikTok, Instagram Reels, & Snapchat, eliminating the need for post-production cropping that could degrade image quality or alter the intended composition. By adjusting the sensor’s output to prioritise height over width, users can achieve fuller utilisation of the camera’s resolution—typically up to 4K in this mode—resulting in sharper, more immersive vertical videos. This is especially beneficial for creators on the go, such as vloggers or social influencers, as it streamlines the workflow from capture to upload, saving time while maintaining professional-grade results. Additionally, it opens up creative possibilities for storytelling, like emphasising tall subjects or vertical panning shots, without compromising on the device’s gimbal stabilisation or intelligent shooting modes.
Introduction of Film Tone in Photo & Video Modes
The introduction of the “Film Tone” option to image parameters in both photo & video modes brings a layer of cinematic sophistication to the DJI Nano’s capabilities, allowing users to apply pre-set colour grading effects that mimic the aesthetic of traditional film. This mode adjusts key elements such as colour balance, contrast, & saturation to produce a more dramatic & evocative look, often with warmer tones, deeper shadows, & controlled highlights that evoke the feel of classic cinema. Unlike standard colour profiles, Film Tone is designed for users who want to infuse their content with artistic flair right at the point of capture, reducing reliance on editing software for basic corrections. It can be particularly advantageous in low-light scenarios or when shooting narrative content, as it enhances dynamic range & preserves details in highlights & shadows. Creators can toggle this option via the DJI Mimo app, experimenting with it alongside other parameters like sharpness or exposure to customise the output, making the Nano a more versatile tool for aspiring filmmakers or photographers seeking a polished, ready-to-share result.
Resolution of Minor Bugs for Improved Performance
The fixing of minor bugs in this firmware update underscores DJI’s commitment to ongoing device optimisation, addressing subtle issues that could impact user experience without introducing major disruptions. These corrections typically target areas like software stability, such as resolving occasional app crashes during live previews, improving Bluetooth connectivity reliability for smoother remote control, or refining algorithm accuracy in features like subject tracking or auto-exposure. While the specifics are often kept general to protect against potential exploits, such updates collectively enhance the Nano’s performance, leading to fewer interruptions during shoots & more consistent battery efficiency. For users, this means a more dependable tool in real-world scenarios, whether filming action sequences or casual clips, & it helps prevent cumulative frustrations that might arise from unaddressed glitches over time. Overall, these bug fixes contribute to the longevity & resale value of the device by ensuring it remains responsive & up-to-date with evolving user needs.
This firmware update positions the DJI Nano as a competitive choice in the compact camera market, catering to both amateur & professional users who value portability without sacrificing quality. By incorporating vertical video support, cinematic colour options, & essential stability improvements, DJI addresses key trends in content creation while maintaining the device’s core strengths in gimbal technology & ease of use. Users are encouraged to update promptly to access these features, & those new to the DJI ecosystem may find the Nano’s blend of innovation & reliability particularly appealing. For the latest details & troubleshooting, refer to the official DJI website or community forums.
Unless otherwise noted, image assets above are NOT original content & are shared under fair use doctrine with NO claims to authorship or ownership. Contact necrolicious@necrolicious.com for credit or removal.
This post was sponsored by…ME! If you’d like to support, please buy my original meme merchandise or check out my affiliate links to get yourself some other cool things. Additional affiliate links may be contained in the above article. If you click on an affiliate link & sign up/make a purchase, I may earn a commission. This does not increase the price you pay for the product or service, so it helps support this website at no cost to you.
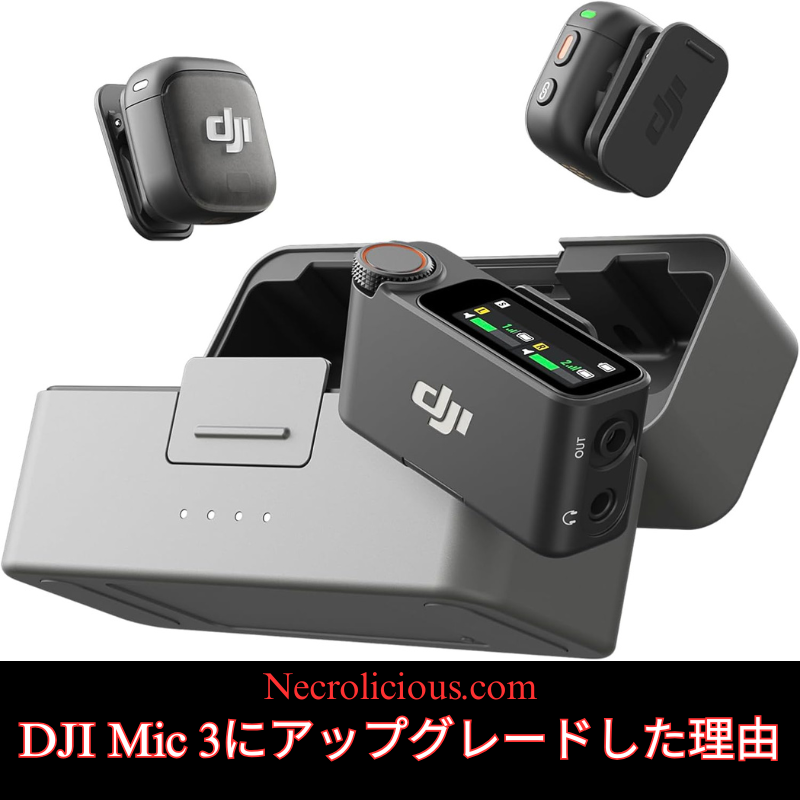
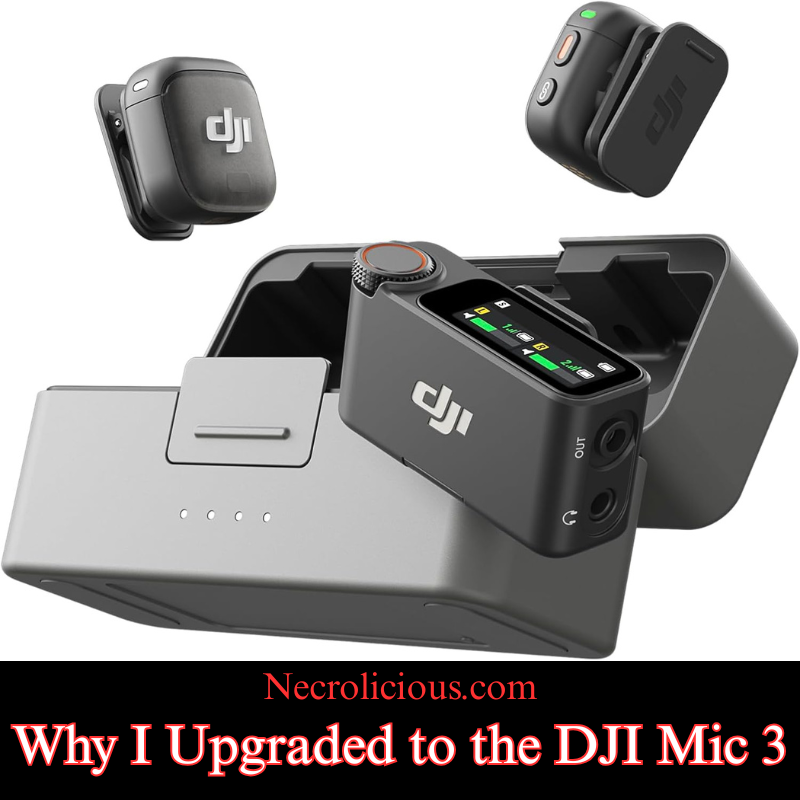
I was always very satisfied with my DJI Mic 2 & probably would not have upgraded to the Mic 3, were it not for the current 14% off sale which continues until February 10th (2026). Since the Mic 3 became 14% off & I got an additional 2,828 Rakuten points for the purchase, it just made sense to sell off my Mic 2 & buy to the Mic 3 — the sale basically made it free for me to upgrade! But that’s not the only reason I upgraded from the DJI Mic 2 to the DJI Mic 3. There are several other reasons, which I will delve into in this article, so you can be better informed about your own decision as to whether or not to upgrade from a prior-generation DJI Microphone. Without further ado, here are my reasons:
There is also the matter of the memory supply crunch which will be affecting technology for at least the next couple of years. I have written my own reports on this topic, but I am not the only one ringing the alarm bell to get what devices you can before major repricing; other well-respected technological news outlets are now reporting similar cautions, urging people to buy a Nintendo Switch 2 now before a global repricing occurs. I don’t think this will remain specific to the Nintendo Switch 2 alone, but rather ANY device which has memory components, such as the Mic 3. This crunch stems from ongoing global supply chain issues & increased demand for AI-driven devices which could drive up prices for memory-intensive products like the Mic 3’s expanded 32GB storage. If you are eyeing an upgrade, acting soon might avoid future cost hikes similar to those anticipated for gaming consoles & smartphones.
Enhanced On-Board Memory & Related Features
Speaking of memory the onboard recording on the Mic 3 is four times that of the Mic 2. The Mic 2 only had 8 gigabytes of internal memory whereas the Mic 3 has 32 gigabytes. Plus it allows you to dual record tracks of both the native audio input & the AI-enhanced audio adjusted input. Beyond storage, the Mic 3’s dual-band wireless technology ensures more stable connections in crowded environments & its voice tone presets let you tailor audio output on the fly—options like “natural” for interviews or “bright” for energetic content. Compatibility is broad including seamless integration with DJI cameras smartphones & laptops via adapters, though I recommend testing with your specific setup.
Concert Recording?
On the subject of adjustments, this should ostensibly allow better recording of live concerts, something that the Mic 2 was notoriously bad at. Try as I may, no Mic 2 settings configuration stopped the audio from being so unusably bad that I gave up & went on to recording a live concert using the Pocket 3’s onboard recorder (which sounds fine & non-distorted) instead of any external microphone whatsoever. The Mic 3’s enhancements could mitigate such distortion from high-decibel events by capturing a wider dynamic range. Though there were several articles on the topic of the Mic 2’s poor concert recording capabilities, I have not been able to source any content, positive or negative, in regards to concert use for the Mic 3, so I will personally conduct tests in the coming weeks using the various settings to see if I can get non-distorted audio in a live concert setting. If successful, it could make the Mic 3 a viable option for capturing live performances. If you do not intend to record concerts, at all this isn’t anything you need to worry about, no matter which generation of the Mic series you possess. The Mic 2 has always performed exceptionally well when simply speaking into it, as most creators do–but it is something to keep in mind if you actually intend to record concerts, whether you are a musician or a spectator.
Enhanced Communication via Numerology
Lastly, this is a little bit more on a personal note that many people may not take into account or take seriously at all, but in numerology the number 3 is the number of communication. Therefore, I think that having a device branded with the number 3 will metaphysically enhance my communication skills & help me convey what I wish to to my viewing audience. Like astrology, etc. I think it’s good fun & I enjoy things such as this, but no need to take it into account if you are not spiritual or superstitious.
To help illustrate the key differences at a glance here is a detailed comparison of specifications between the DJI Mic 2 & Mic 3 based on official details & hands-on reviews:
Feature
DJI Mic 2
DJI Mic 3
Internal Storage (per Transmitter)
8 GB (approx. 14 hours of 48kHz/24-bit audio)
32 GB (approx. 56 hours of 48kHz/24-bit audio)
Battery Life (Total with Charging Case)
Up to 18 hours
Up to 28 hours
Transmitter Dimensions
46.06 × 30.96 × 21.83 mm
28.77 × 28.34 × 16.35 mm (with magnetic clip)
Transmitter Weight
28 g
16 g (with magnetic clip); approx. 10 g without
Wireless Range (Line of Sight)
Up to 250 m (FCC); 160 m (CE)
Up to 400 m (FCC); 250 m (CE) with dual-band (2.4/5 GHz) support
Two levels (standard & strong) with AI enhancements
Additional Features
3.5mm jack for external mics; basic noise cancelling
Timecode syncing for multi-camera shoots; voice tone presets (e.g. natural, warm, bright); supports up to 4 transmitters; AMOLED touchscreen with rotary knob on receiver; no 3.5mm jack
Wireless Technology
2.4 GHz
Dual-band 2.4/5.8 GHz with automatic frequency hopping & Bluetooth integration
This table highlights tangible upgrades in portability battery life & audio flexibility which influenced my decision but also underscores trade-offs like the lack of a 3.5mm jack.
Pros & Cons of Upgrading to the DJI Mic 3
While the Mic 2 remains a solid choice for most users the Mic 3 introduces refinements that could justify an upgrade depending on your needs. Here is a balanced overview tied to common scenarios:
Pros:
Enhanced Portability for On-the-Go Creators: The transmitters are significantly smaller & lighter making them ideal for vloggers or mobile journalists who prioritise discretion & comfort during long shoots. For instance if you are filming travel content or interviews the reduced bulk (from 28g to 16g) means less fatigue without sacrificing audio quality.
Superior Battery Life & Range for Extended Use: With up to 28 hours total battery (versus 18 hours) & a 400m range this suits event videographers or drone operators needing reliable wireless performance in larger venues or outdoors. It reduces the need for mid-shoot recharges & minimises dropouts.
Advanced Audio Features for Professionals: Dual-file recording (native & AI-processed) voice tone presets & two-level noise cancellation allow for better post-production flexibility. This is a boon for podcasters or filmmakers dealing with noisy environments or requiring customised sound profiles like a “warm” tone for voiceovers.
Timecode Syncing for Multi-Device Workflows: If you work with multiple cameras (e.g. DJI Osmo Pocket or cinema rigs) the built-in timecode ensures seamless audio-video alignment saving hours in editing. This is particularly valuable for professional video production teams.
Cons:
Loss of 3.5mm Jack for External Mics: As mentioned this limits compatibility with lavalier or shotgun mics which could be a dealbreaker for users relying on specialised audio inputs. Stick with the Mic 2 if you need this versatility.
Potential Overkill for Beginners: Features like timecode & dual-band may go unused by hobbyists or solo creators leading to unnecessary complexity. If your setup is simple (e.g. smartphone vlogging) the Mic 2 offers better value.
Ultimately weigh these against your workflow—for vloggers the pros in portability shine while professionals may appreciate the advanced tools but casual users might skip the upgrade.
The prior generations still work great & I would definitely recommend them for content creators that either do not have the funds or general interest in the Mic 3. For many use cases there is simply no need to upgrade to it &, for others, there are actual reasons why you would not want to upgrade such as the DJI Mic 3 not having a 3.5mm audio jack to which you can connect a lavalier mic or shotgun mic to, but in the entirety of the time that I have owned the Mic 2 which is just shy of two years now I have never once needed that audio jack except to plug in the windscreen.
Unless otherwise noted, image assets above are NOT original content & are shared under fair use doctrine with NO claims to authorship or ownership. Contact necrolicious@necrolicious.com for credit or removal.
This post was sponsored by…ME! If you’d like to support, please buy my original meme merchandise or check out my affiliate links to get yourself some other cool things. Additional affiliate links may be contained in the above article. If you click on an affiliate link & sign up/make a purchase, I may earn a commission. This does not increase the price you pay for the product or service, so it helps support this website at no cost to you.
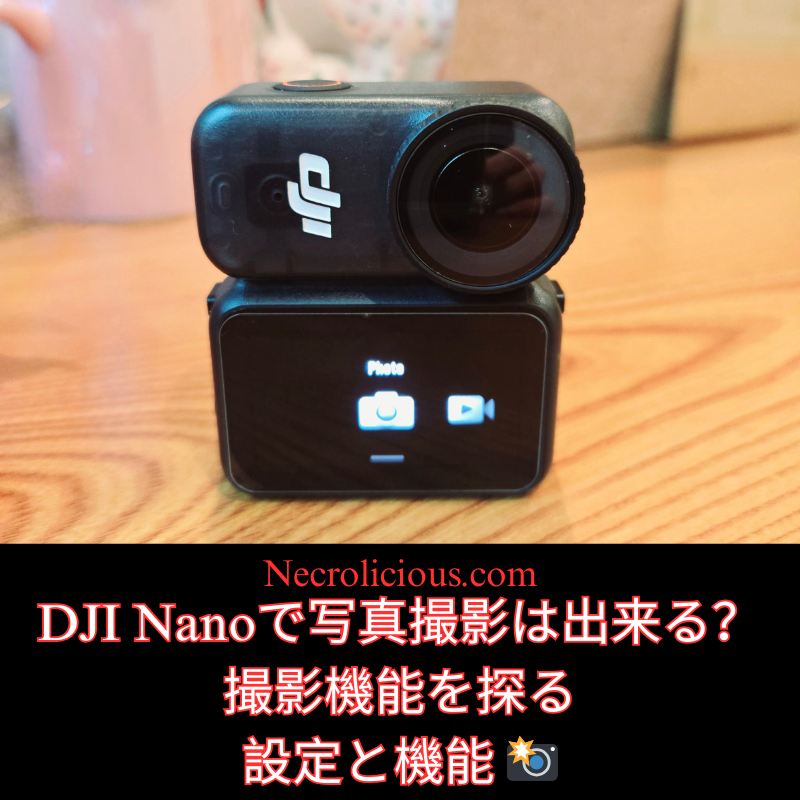
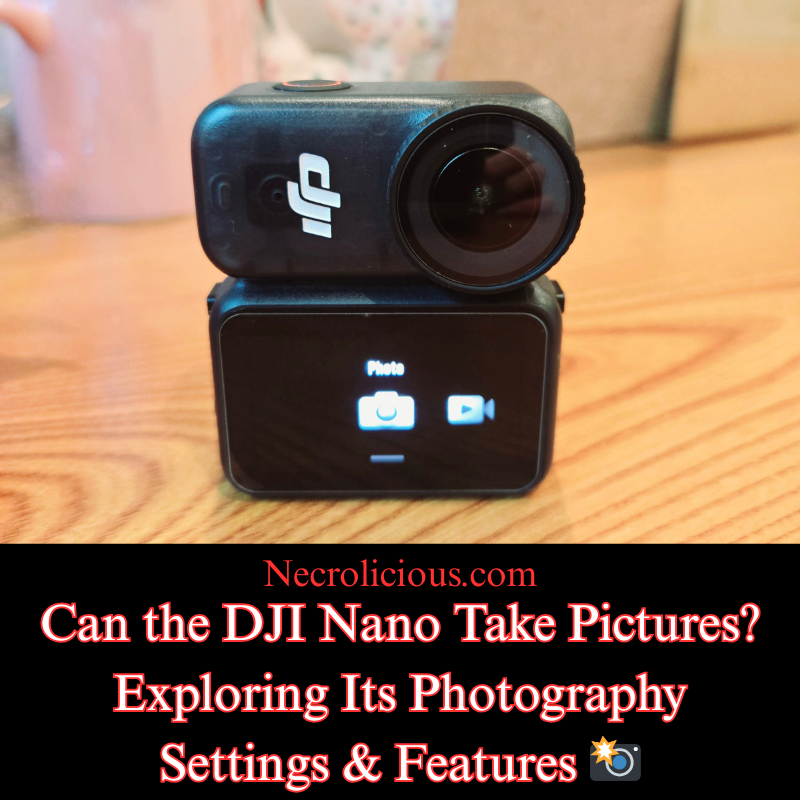
In the realm of compact action cameras, the DJI Osmo Nano stands out for its versatility & portability. Designed for adventurers & content creators alike, this device combines advanced video recording with robust still photography capabilities. If you have been wondering whether the DJI Osmo Nano can take pictures, the short answer is yes. Beyond that, it offers a range of settings & features that make it a compelling choice for capturing high-quality images on the go. This article delves into the specifics, highlighting how these elements enhance your photographic experience.
An Overview of the DJI Osmo Nano
The DJI Osmo Nano is an ultra-compact, wearable action camera featuring a modular design with a 1/1.3-inch sensor & a 143° wide field of view. Weighing just 52 grams for the camera unit, it is ideal for mounting in various positions, whether for sports, travel or everyday documentation. While primarily known for its 4K/60fps video recording & 10-bit D-Log M colour performance, the device’s photography functions provide professional-grade results in a diminutive form factor.
The DJI Osmo Nano excels in still photography thanks to its dedicated sensor & lens configuration, which support detailed image capture across diverse conditions. Below is a summary of the primary photo specifications:
Specification
Details
Sensor
1/1.3″ CMOS
Lens
FOV: 143°, Aperture: f/2.8, Focus Range: 0.35 m to ∞
ISO Range
100-25600
Electronic Shutter Speed
1/8000-30 s
Max Photo Resolution
6880 × 5160 (approximately 35 MP)
Still Photography Modes
Single, Countdown (Off/0.5/1/2/3/5/10 s), Burst (up to 30 images in 3 s)
Photo Formats
JPEG/RAW
These settings allow users to adapt to various lighting scenarios & creative needs. For instance, the wide ISO range facilitates low-light photography, while the burst mode is particularly useful for action shots where timing is critical. The option to shoot in RAW format provides greater flexibility in post-production, enabling adjustments to exposure & colour without loss of quality.
Additionally, the camera’s 13.5 stops of dynamic range ensure that images retain detail in both highlights & shadows, making it suitable for landscapes & high-contrast environments. Features such as Horizon Balancing & stabilisation, borrowed from DJI’s broader ecosystem, further aid in producing sharp, level photographs even during movement.
Practical Applications for Photography
With its magnetic mounting system & waterproof design (up to 10 m for the camera), the DJI Osmo Nano is well-suited for capturing stills in challenging settings. Whether documenting a hike, a pet’s adventures or urban scenes, the device’s photo modes integrate seamlessly with its video functions, allowing for hybrid content creation. Users can switch effortlessly between modes via the 1.96-inch touchscreen or the companion app, ensuring that spontaneous moments are never missed.
The DJI Osmo Nano not only answers the question of whether it can take pictures with a resounding yes but also delivers a suite of advanced settings & features that rival larger cameras. From its high-resolution sensor to versatile modes & formats, it empowers photographers to capture compelling images with ease. If you are seeking a compact yet capable device for your next project, the Osmo Nano merits consideration.
Unless otherwise noted, image assets above are NOT original content & are shared under fair use doctrine with NO claims to authorship or ownership. Contact necrolicious@necrolicious.com for credit or removal.
This post was sponsored by…ME! If you’d like to support, please buy my original meme merchandise or check out my affiliate links to get yourself some other cool things. Additional affiliate links may be contained in the above article. If you click on an affiliate link & sign up/make a purchase, I may earn a commission. This does not increase the price you pay for the product or service, so it helps support this website at no cost to you.
To be clear, Samsung has not officially made any new hardware in partnership with DJI. This “bigger, better” experience stems from DJI Mimo app compatibility with the cover screens featured on Samsung’s Z Flip lineup. The Mimo app connects wirelessly to the Osmo Nano via Wi-Fi & Bluetooth, supporting full functionality including Pro mode on the cover screen, providing a larger, but still palm-sized, means to remotely access the camera preview & more advanced Mimo features that are not as easily accessed on the Nano’s Vision Dock. This setup proves particularly useful for POV shooting with the Nano magnetically mounted, allowing quick framing, parameter tweaks & monitoring on Samsung’s more spacious & vibrant Super AMOLED displays.
The DJI Osmo Nano pairs exceptionally well with Samsung’s Galaxy Z Flip series from the Z Flip5 onwards, where the outer cover screen serves as a larger, more capable alternative to the official Multifunctional Vision Dock’s 1.96-inch OLED touchscreen. By running the DJI Mimo app on the closed phone’s cover display (enabled via Samsung’s Good Lock or native customisations for any app support), users gain a bigger portable viewing & control interface for live preview, remote operation & granular settings adjustments – all without unfolding the device or relying on the smaller, somewhat harder to see & operate dock.
Contrasting Cover Screen Operation of the DJI Mimo App on Galaxy Z Flip5, Flip6 & Flip7
The cover screen experience evolves across models, with progressive improvements in size, resolution & usability for app-based control of the Osmo Nano.
The 3.4-inch Super AMOLED cover display (720 × 748 resolution) provides a solid step up from the Vision Dock’s 1.96-inch screen, offering roughly 70% more diagonal area for clearer live previews & easier touch interactions. Mimo app runs effectively when forced to the cover screen (via Good Lock or settings), enabling real-time viewing, basic remote start/stop & access to Pro mode parameters. Navigation feels more comfortable than on the dock for sliders & menus, though the resolution & brightness limit fine colour judgement in bright conditions compared to later models. Ideal for quick checks during action but may require occasional unfolding for the most detailed edits.
Retains the same 3.4-inch Super AMOLED size & 720 × 748 resolution as the Flip5, with enhancements in overall phone performance (better battery, processing & brightness). Mimo app operation mirrors the Flip5 closely on the cover screen – reliable wireless connection, live feed & granular controls – but benefits from improved touch response & outdoor visibility. Users report smoother app performance & less lag in previews, making it marginally preferable for extended monitoring without the dock. The experience remains compact yet noticeably larger than the Vision Dock, prioritising portability over expansive real estate.
Features a significantly enlarged 4.1-inch Super AMOLED cover display (1048 × 948 resolution, up to 120Hz refresh rate), representing the largest & highest-resolution cover screen in the series to date – with reduced bezels for edge-to-edge usability & approximately double the usable area of predecessors. This delivers the most compelling alternative to the Vision Dock: substantially bigger live previews, more precise touch targets for sliders/numeric inputs, superior colour accuracy & brightness (up to 2600 nits peak in some modes), & fluid navigation of Pro mode settings even in challenging lighting. Mimo app excels here for detailed tweaks, with real-time feedback on exposure, stabilisation & more feeling far less constrained. The larger interface supports better multitasking glimpses (e.g., quick parameter checks mid-shoot) & positions the Flip7 as the standout for app-driven Osmo Nano control.
Viewing Area Comparison Table
Device/Model
Cover Screen Type
Diagonal Size
Resolution (approx.)
Key Advantages for DJI Mimo App Operation on Cover Screen
Larger preview area; good for quick Pro mode access; vibrant but standard resolution
Galaxy Z Flip6
Super AMOLED Cover
3.4 inches
720 × 748
Same size as Flip5; enhanced brightness & performance for smoother app use
Galaxy Z Flip7
Super AMOLED Cover
4.1 inches
1048 × 948
Biggest & sharpest; edge-to-edge design; superior visibility & precision for detailed controls
The Mimo app unlocks superior granular adjustments on these cover screens compared to the Vision Dock, thanks to larger interfaces & precise controls. Key parameters easier to manage include:
Core Exposure Parameters (Pro mode > Manual “M”)
Shutter Speed – Large sliders & real-time preview judge motion blur instantly; dock feels cramped.
ISO – Precise selection with visible noise impact on bigger display.
Exposure Compensation (EV) – Intuitive live tweaks for balanced brightness.
Exposure Mode – Tap-to-toggle with full context visible.
Other Image & Advanced Parameters
White Balance – Sliders/presets with accurate colour judgement outdoors.
Color Profile – Clear toggle to D-Log M with previews.
Bitrate – Easy comparison of quality vs storage.
Stabilisation (EIS) – Mode switch with FOV previews.
Field of View (FOV) – Better composition on larger framing.
Additional Granular/Custom Settings
Custom Mode Saving – Easier naming & management of presets.
Audio Settings – Detailed sliders for mic gain & wind reduction.
Lastly, let’s not forget your phone’s ability to upload directly to social media–something the DJI Vision Dock just can’t do!
Overall, Samsung’s Galaxy Z Flip cover screen workflow – especially on the Flip7 – offers a bigger, often more practical way to operate the Mimo app for the Osmo Nano, blending foldable convenience with enhanced control. The Vision Dock retains advantages for fully standalone use (extended battery & direct mounts), but for app-centric precision & visibility, the Flip series stands out. For compatibility confirmation & updates, refer to DJI’s Mimo download page & Samsung device specs. The Osmo Nano’s 4K/60fps, 143° FOV & 10-bit D-Log M continue to deliver excellent results in this ecosystem. As a Flip6 owner, I can say that this works with these devices. It may also work with other flip-style phone models, such as those made by Motorola, but since I do not possess such a device, I personally cannot confirm.
As a small side note, DJI is presently offering an 8% discount on the Nano until February 2, 2026. Bundled with point back campaigns & other credit card rewards, this can jump up to about 10%, so get it while the getting is good!
Unless otherwise noted, image assets above are NOT original content & are shared under fair use doctrine with NO claims to authorship or ownership. Contact necrolicious@necrolicious.com for credit or removal.
This post was sponsored by…ME! If you’d like to support, please buy my original meme merchandise or check out my affiliate links to get yourself some other cool things. Additional affiliate links may be contained in the above article. If you click on an affiliate link & sign up/make a purchase, I may earn a commission. This does not increase the price you pay for the product or service, so it helps support this website at no cost to you.
I got the DJI NANO but Tiktok blocks duplicate uploads, so I reversed the video to avoid the flag 🤣 Check out my Japanese channel if you want to see the unboxing 🇯🇵 #dji#djinano#djinanoactioncamera#actioncamera#reboxing
I just got ahold of the DJI NANO action camera. As my first action camera, I thought I would share my initial thoughts & impressions of it. This post is not sponsored by DJI, so I am sharing my own unbiased opinion.
Why now & why this specific model? There are several reasons. Firstly, as I have repeatedly warned, electronic prices have been trending upward. Even last-generation devices are being marked up rather than priced down as they are phased out like they used to be. It may be years before we see the type of price decreases that we use to as items were phased out. Additionally, there have been intensifying rumours of supply constraints specific to Japan in the form of import restrictions. Overall, I wanted to beat the market & get the NANO while I could before it gets marked up or otherwise becomes unavailable. As for why I got this specific model, already having the DJI Pocket 3 as well as my Samsung Flip 6, the reason is that it is compact & discreet in comparison to those. I primarily intend to use the NANO to shoot hands-free, utilising the included necklace attachment for easy point-of-view recording. I find that getting out my phone is intrusive since I have to hold it & draw attention to the fact that I am recording. Same with the DJI Pocket 3. For first-person-perspective shots with either of those devices, I need to carry around a chest harness mount then strap it on when I want to shoot. The result is much bulkier & ungainly, drawing undue attention to the fact that I am recording. Specific to my phone, I always worry that I might drop & seriously damage it in the process. As cool as they are, Samsung’s Flip series aren’t known for durability or ruggedness at all, & being without a phone for weeks due to an accident is not a position I wish to put myself in. With the NANO, I can easily wear it & nobody even knows that I’m recording. I also don’t have to worry that an accidental drop will cut me off from the world as it would with my phone. It is still a fairly large lens, so I think anybody paying attention would notice it immediately. I would not recommend it for 100% covert recording for that reason, but spying like that is not my intent. I simply want an unobtrusive, discreet way to record various events & attractions that I visit or overhead views of product unboxing/testing. At this point of what I suppose you would call my video career, it seems that the faceless videos I post get more traction than those of me talking. Maybe one day I will surpass this level, but in the meantime, I think this camera will give me a great edge in recording the types of videos that seem to perform best on my TikTok, YouTube, etc. Lastly, I am already somewhat locked into the DJI ecosystem, possessing not only the Pocket 3 but also the Mic 2. Therefore, buying another brand without the compatibility was less appealing than just sticking to something I was already familiar with & had both hardware/software for.
What Is the Performance Like?
So far, so good. I had been worried since numerous reports of overheating issues occurring within less than 10 minutes were rampant at release, but this does not seem to be the case with my model. Whether that is due to an upgrade of the hardware or firmware, I am not sure, but in my initial testing I got over 20 minutes shooting at maximum settings with no signs of overheating. Feeling safe, since I personally never record any longer than that, I cut off the overheat testing at that point to check out other features. I had initially mistaken the screen timeout for overheating. This occurred less than two minutes in, but after a slight bit of research, I realised all I needed to do was swipe right on the screen to set the timeout to “never” & the issue has not returned. I should also note that there is on-board memory capacity so, unlike the Pocket 3, you do not need an SD card before you can record anything. I opted for the 128GB, rather than the 64GB model, due to memory shortages being a driving force in global technology price increases. I tend to shoot everything in 1080p, but it is good to know that I have the 4K option there if I ever happen to want or need it. I do not think that we are at the point where most platforms fully welcome 4K, but since I am uploading to social media in an effort to become monetised, I do not think wasting space to have a 4K video that only anyone at my own home can see is worth the sacrifice. Just to mention the one real problem I’ve had so far, the DJI Mimo app not exporting my edited videos to my phone. The app will say that it is exported, but it does not appear in the DJI Exports album or anywhere else in my gallery. It takes several tries to push it through &, however many tries it takes, that many copies are pushed to the album when it finally does work (today, I had to push it through 7 times &, when it finally went through, I ended up with 7 copies of the same video). This is annoying & frustrating, but I cannot blame it on the NANO particularly since I am not sure if it is the camera, the Mimo app or even my phone itself. I intend to contact DJI support to see if they can provide some help with this.
Do I Recommend This Camera?
I do. Many reviews that I watched & read prior to making my own purchase warned that it is not a true action camera, but that is not my intended purpose anyway. I do not plan to take my NANO kayaking, rock-climbing or on a motorcycle (especially since I no longer have one). I simply want to use it for both event videos & product unboxing/review videos. If your intentions are the similar mine, I would definitely recommend it. A closed model such as the DJI Action series would likely be better for you if you are planning to partake in more extreme activities such as outdoor sports, etc.
As I mentioned above, prices may soon go up due to shortages of memory at an industrial scale &, if you are in Japan, additional import restrictions may further limit or cease availability. Therefore, I would advise getting it sooner rather than later.
Unless otherwise noted, image assets above are NOT original content & are shared under fair use doctrine with NO claims to authorship or ownership. Contact necrolicious@necrolicious.com for credit or removal.
This post was sponsored by…ME! If you’d like to support, please buy my original meme merchandise or check out my affiliate links to get yourself some other cool things. Additional affiliate links may be contained in the above article. If you click on an affiliate link & sign up/make a purchase, I may earn a commission. This does not increase the price you pay for the product or service, so it helps support this website at no cost to you.