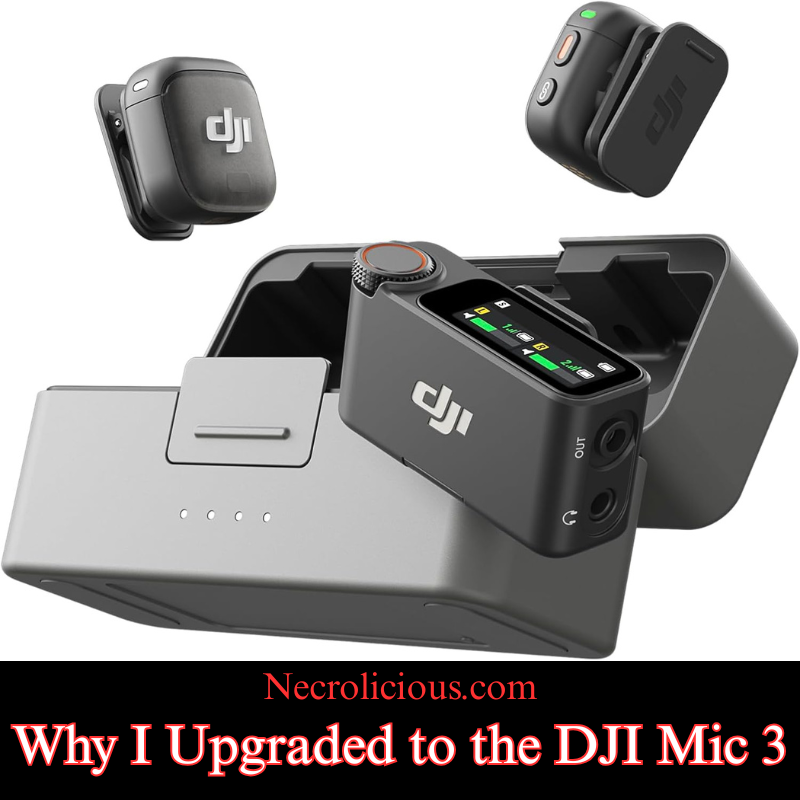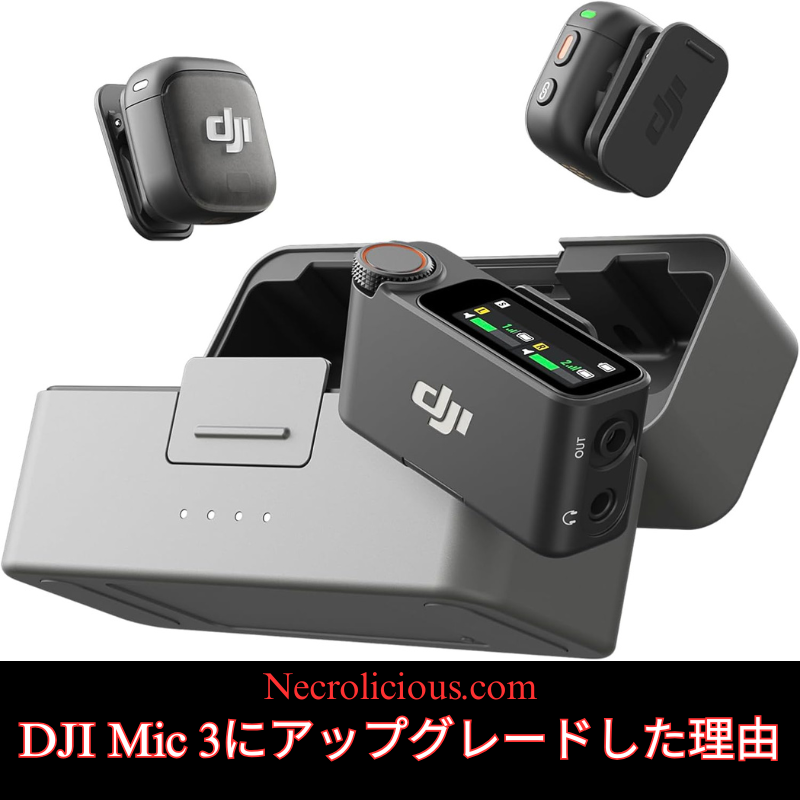
DJI Mic 2には大変満足しており、 2026年2月10日まで続く14%オフセールがなければ、おそらくMic 3にアップグレードすることはなかったでしょう。Mic 3が14%オフになり、さらに楽天ポイント2,828ポイントが付与されたので、Mic 2を売却してMic 3に買い替えるのは理にかなった選択でした。セールのおかげで、実質的に無料でアップグレードできたのですから!しかし、DJI Mic 2からMic 3にアップグレードした理由はそれだけではありません。この記事では、他にもいくつか理由を詳しく説明します。以前の世代のDJIマイクからアップグレードするかどうかの判断に役立つはずです。さて、早速私の理由を述べていきましょう。

メモリ供給不足が価格改定の脅威に
メモリ供給不足の問題もあり、これは少なくとも今後数年間はテクノロジー業界に影響を与えるでしょう。私はこの件について独自のレポートを執筆していますが、大幅な価格改定前にデバイスを入手できるよう警鐘を鳴らしているのは私だけではありません。他の著名なテクノロジー系ニュースメディアも同様の警告を発し、世界的な価格改定が行われる前にNintendo Switch 2を今すぐ購入するよう人々に促しています。これはNintendo Switch 2に限った話ではなく、Mic 3のようなメモリコンポーネントを搭載したあらゆるデバイスに当てはまると思います。この供給不足は、世界的なサプライチェーンの問題とAI搭載デバイスの需要増加に起因しており、Mic 3の拡張32GBストレージのようなメモリを大量に消費する製品の価格上昇につながる可能性があります。買い替えを検討している方は、早めに行動を起こすことで、ゲーム機やスマートフォンで予想されるような将来の価格上昇を回避できるかもしれません。
強化されたオンボードメモリと関連機能
メモリといえば、Mic 3の内蔵録音能力はMic 2の4倍です。Mic 2は8GBでしたが、Mic 3は32GBを搭載しています。さらに、ネイティブオーディオ入力とAI強化オーディオ調整入力の両方をデュアル録音できます。ストレージ容量以外にも、Mic 3のデュアルバンドワイヤレス技術は、混雑した環境でもより安定した接続を確保します。また、ボイストーンプリセットにより、インタビューには「ナチュラル」、エネルギッシュなコンテンツには「ブライト」など、音声出力を瞬時に調整できます。互換性は幅広く、DJIカメラ、スマートフォン、ノートパソコンとアダプターを介してシームレスに統合できますが、ご自身の環境でテストすることをお勧めします。
コンサートの録音?
調整について言えば、これによりライブコンサートの録音が改善されるはずです。Mic 2はライブコンサートの録音が苦手で、この点は以前から不得意でした。Mic 2の設定をいくら試しても、音質が使い物にならないほど悪く、諦めてPocket 3の内蔵レコーダー(歪みもなく良好な音質)を使ってライブコンサートを録音することにしました。Mic 3の機能強化により、より広いダイナミックレンジを捉えることで、高デシベルイベントによる歪みを軽減できる可能性があります。Mic 2のコンサート録音能力の低さに関する記事はいくつかありましたが、Mic 3をコンサートで使用した際の肯定的、否定的な情報を見つけることができませんでした。そこで、今後数週間かけて様々な設定でライブコンサートの録音を実際に試し、歪みのない音声が得られるかどうかを確認したいと思います。もし成功すれば、Mic 3はライブパフォーマンスの録音に有効な選択肢となるでしょう。コンサートを録音するつもりがないのであれば、どの世代のMicシリーズをお持ちであっても、この点は全く心配する必要はありません。Mic 2は、多くのクリエイターがそうするように、ただ話しかけるだけであれば常に非常に優れたパフォーマンスを発揮してきました。しかし、実際にコンサートを録音するつもりであれば、ミュージシャンであれ観客であれ、この点は念頭に置いておく必要があります。
数秘術によるコミュニケーションの強化
最後に、これは少し個人的な話になりますが、多くの人があまり気に留めなかったり、真剣に受け止めなかったりするかもしれませんが、数秘術では3はコミュニケーションの数字です。ですから、3の刻印が入ったデバイスを持つことで、コミュニケーション能力が形而上学的に向上し、視聴者に自分の伝えたいことをより効果的に伝えられるようになると思っています。占星術など、そういうものも楽しいですし、私も好きですが、スピリチュアルなことや迷信深いことをあまり考えていないのであれば、あまり気にしなくていいと思います。
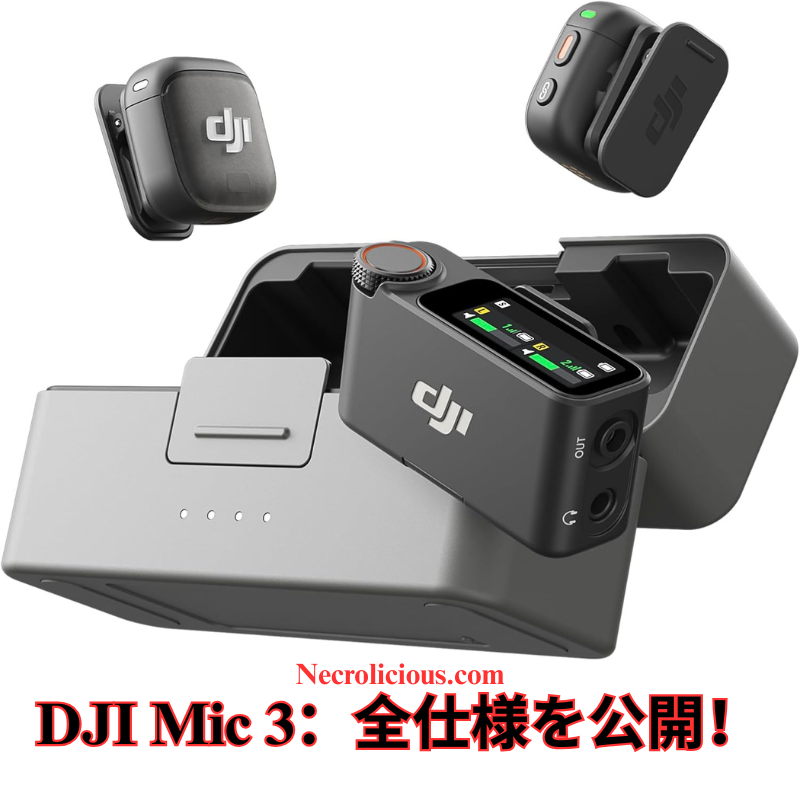
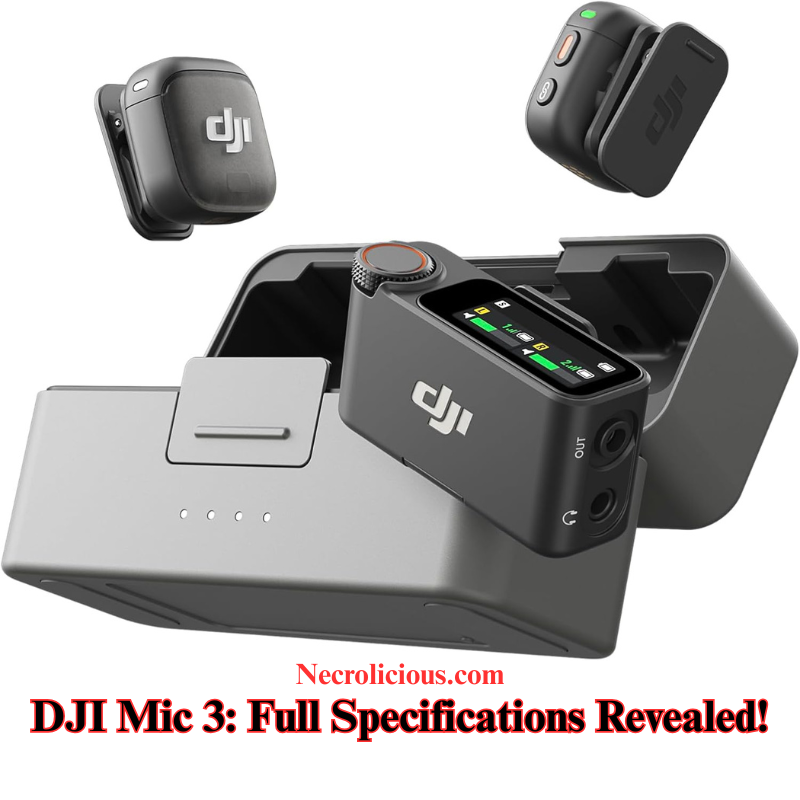
主な違いを一目で理解できるように、公式の詳細と実践レビューに基づいた DJI Mic 2 と Mic 3 の仕様の詳細な比較を以下に示します。
| 特徴 | DJI マイク 2 | DJI マイク 3 |
|---|---|---|
| 内部ストレージ(送信機あたり) | 8 GB(48kHz/24ビットオーディオで約14時間) | 32 GB(48kHz/24ビットオーディオで約56時間) |
| バッテリー寿命(充電ケースを含む合計) | 最大18時間 | 最大28時間 |
| 送信機の寸法 | 46.06 × 30.96 × 21.83 mm | 28.77 × 28.34 × 16.35 mm(マグネットクリップ付き) |
| 送信機重量 | 28グラム | 約16g(マグネットクリップ付き);約10g(マグネットクリップなし) |
| 無線範囲(見通し線) | 最大 250 m (FCC)、160 m (CE) | 最大 400 m (FCC)、デュアルバンド (2.4/5 GHz) 対応で 250 m (CE) |
| オーディオ録音フォーマット | 24ビット/48kHz; 32ビット浮動小数点オプション | 24ビット/48kHz; デュアルファイル(処理済みと未処理)とロスレス録音を備えた拡張32ビットフロート |
| ノイズ低減レベル | 単一設定 | AI強化による2つのレベル(標準と強力) |
| 追加機能 | 外部マイク用の3.5mmジャック、基本的なノイズキャンセリング機能 | マルチカメラ撮影用のタイムコード同期、音声トーンプリセット(ナチュラル、ウォーム、ブライトなど)、最大 4 台の送信機をサポート、受信機に回転ノブ付きの AMOLED タッチスクリーン、3.5 mm ジャックなし |
| ワイヤレステクノロジー | 2.4GHz帯 | 自動周波数ホッピングと Bluetooth 統合を備えたデュアルバンド 2.4/5.8 GHz |
この表は、私の決定に影響を与えた、携帯性、バッテリー寿命、オーディオの柔軟性における目に見えるアップグレードを強調していますが、3.5mm ジャックがないなどのトレードオフも強調しています。
DJI Mic 3へのアップグレードのメリットとデメリット
Mic 2は多くのユーザーにとって依然として堅実な選択肢ですが、Mic 3では、ニーズによってはアップグレードを正当化できるほどの改良が加えられています。以下に、一般的なシナリオに基づいたバランスの取れた概要をご紹介します。
長所:
- 外出先で撮影するクリエイターのために、携帯性を大幅に向上:送信機は大幅に小型軽量化され、長時間撮影中の目立たなさと快適性を重視するVloggerやモバイルジャーナリストに最適です。例えば、旅行コンテンツやインタビューの撮影では、体積が28gから16gに減少したことで、音質を犠牲にすることなく疲労を軽減できます。
- 優れたバッテリー寿命と通信範囲で長時間使用が可能:最大28時間のバッテリー駆動時間(従来機18時間)と400mの通信範囲を実現。大規模な会場や屋外で信頼性の高いワイヤレス性能を求めるイベントビデオグラファーやドローンオペレーターに最適です。撮影中の充電の必要性を軽減し、通信切れを最小限に抑えます。
- プロフェッショナル向けの高度なオーディオ機能:デュアルファイル録音(ネイティブとAI処理)、ボイストーンプリセット、そして2段階のノイズキャンセリング機能により、ポストプロダクションの柔軟性が向上します。これは、騒がしい環境で作業するポッドキャスターや映画制作者、あるいはナレーション用の「温かみのある」トーンなど、カスタマイズされたサウンドプロファイルを必要とする人にとって大きなメリットです。
- マルチデバイスワークフローのためのタイムコード同期:複数のカメラ(DJI Osmo Pocketやシネマリグなど)を使用する場合、内蔵タイムコードによりシームレスな音声と映像の同期が確保され、編集時間を短縮できます。これは特にプロの映像制作チームにとって大きなメリットです。
短所:
- 外部マイク用の3.5mmジャックが廃止されました:前述の通り、これによりラベリアマイクやショットガンマイクとの互換性が制限され、特殊なオーディオ入力を必要とするユーザーにとっては致命的となる可能性があります。この汎用性が必要な場合は、Mic 2をお選びください。
- 初心者には過剰な機能:タイムコードやデュアルバンドといった機能は、趣味や個人制作者には使われず、不要な複雑さにつながる可能性があります。シンプルなセットアップ(スマートフォンでのVlogなど)であれば、Mic 2の方がより優れた価値を提供します。
最終的には、これらを自分のワークフローと比較検討します。vlogger にとっては携帯性の利点が重要になりますが、プロは高度なツールを評価するかもしれませんが、一般のユーザーはアップグレードをスキップするかもしれません。
以前の世代の製品も今でも問題なく動作し、Mic 3 を購入する資金がなかったり、Mic 3 に全般的な興味がないコンテンツ クリエイターには間違いなくお勧めです。多くの用途ではアップグレードする必要はまったくありませんし、DJI Mic 3 にはラベリア マイクやショットガン マイクを接続できる 3.5mm オーディオ ジャックが搭載されていないなど、アップグレードしたくない実際の理由もありますが、私が Mic 2 を所有してほぼ 2 年になりますが、ウインドスクリーンを接続する以外でそのオーディオ ジャックが必要になったことは一度もありません。